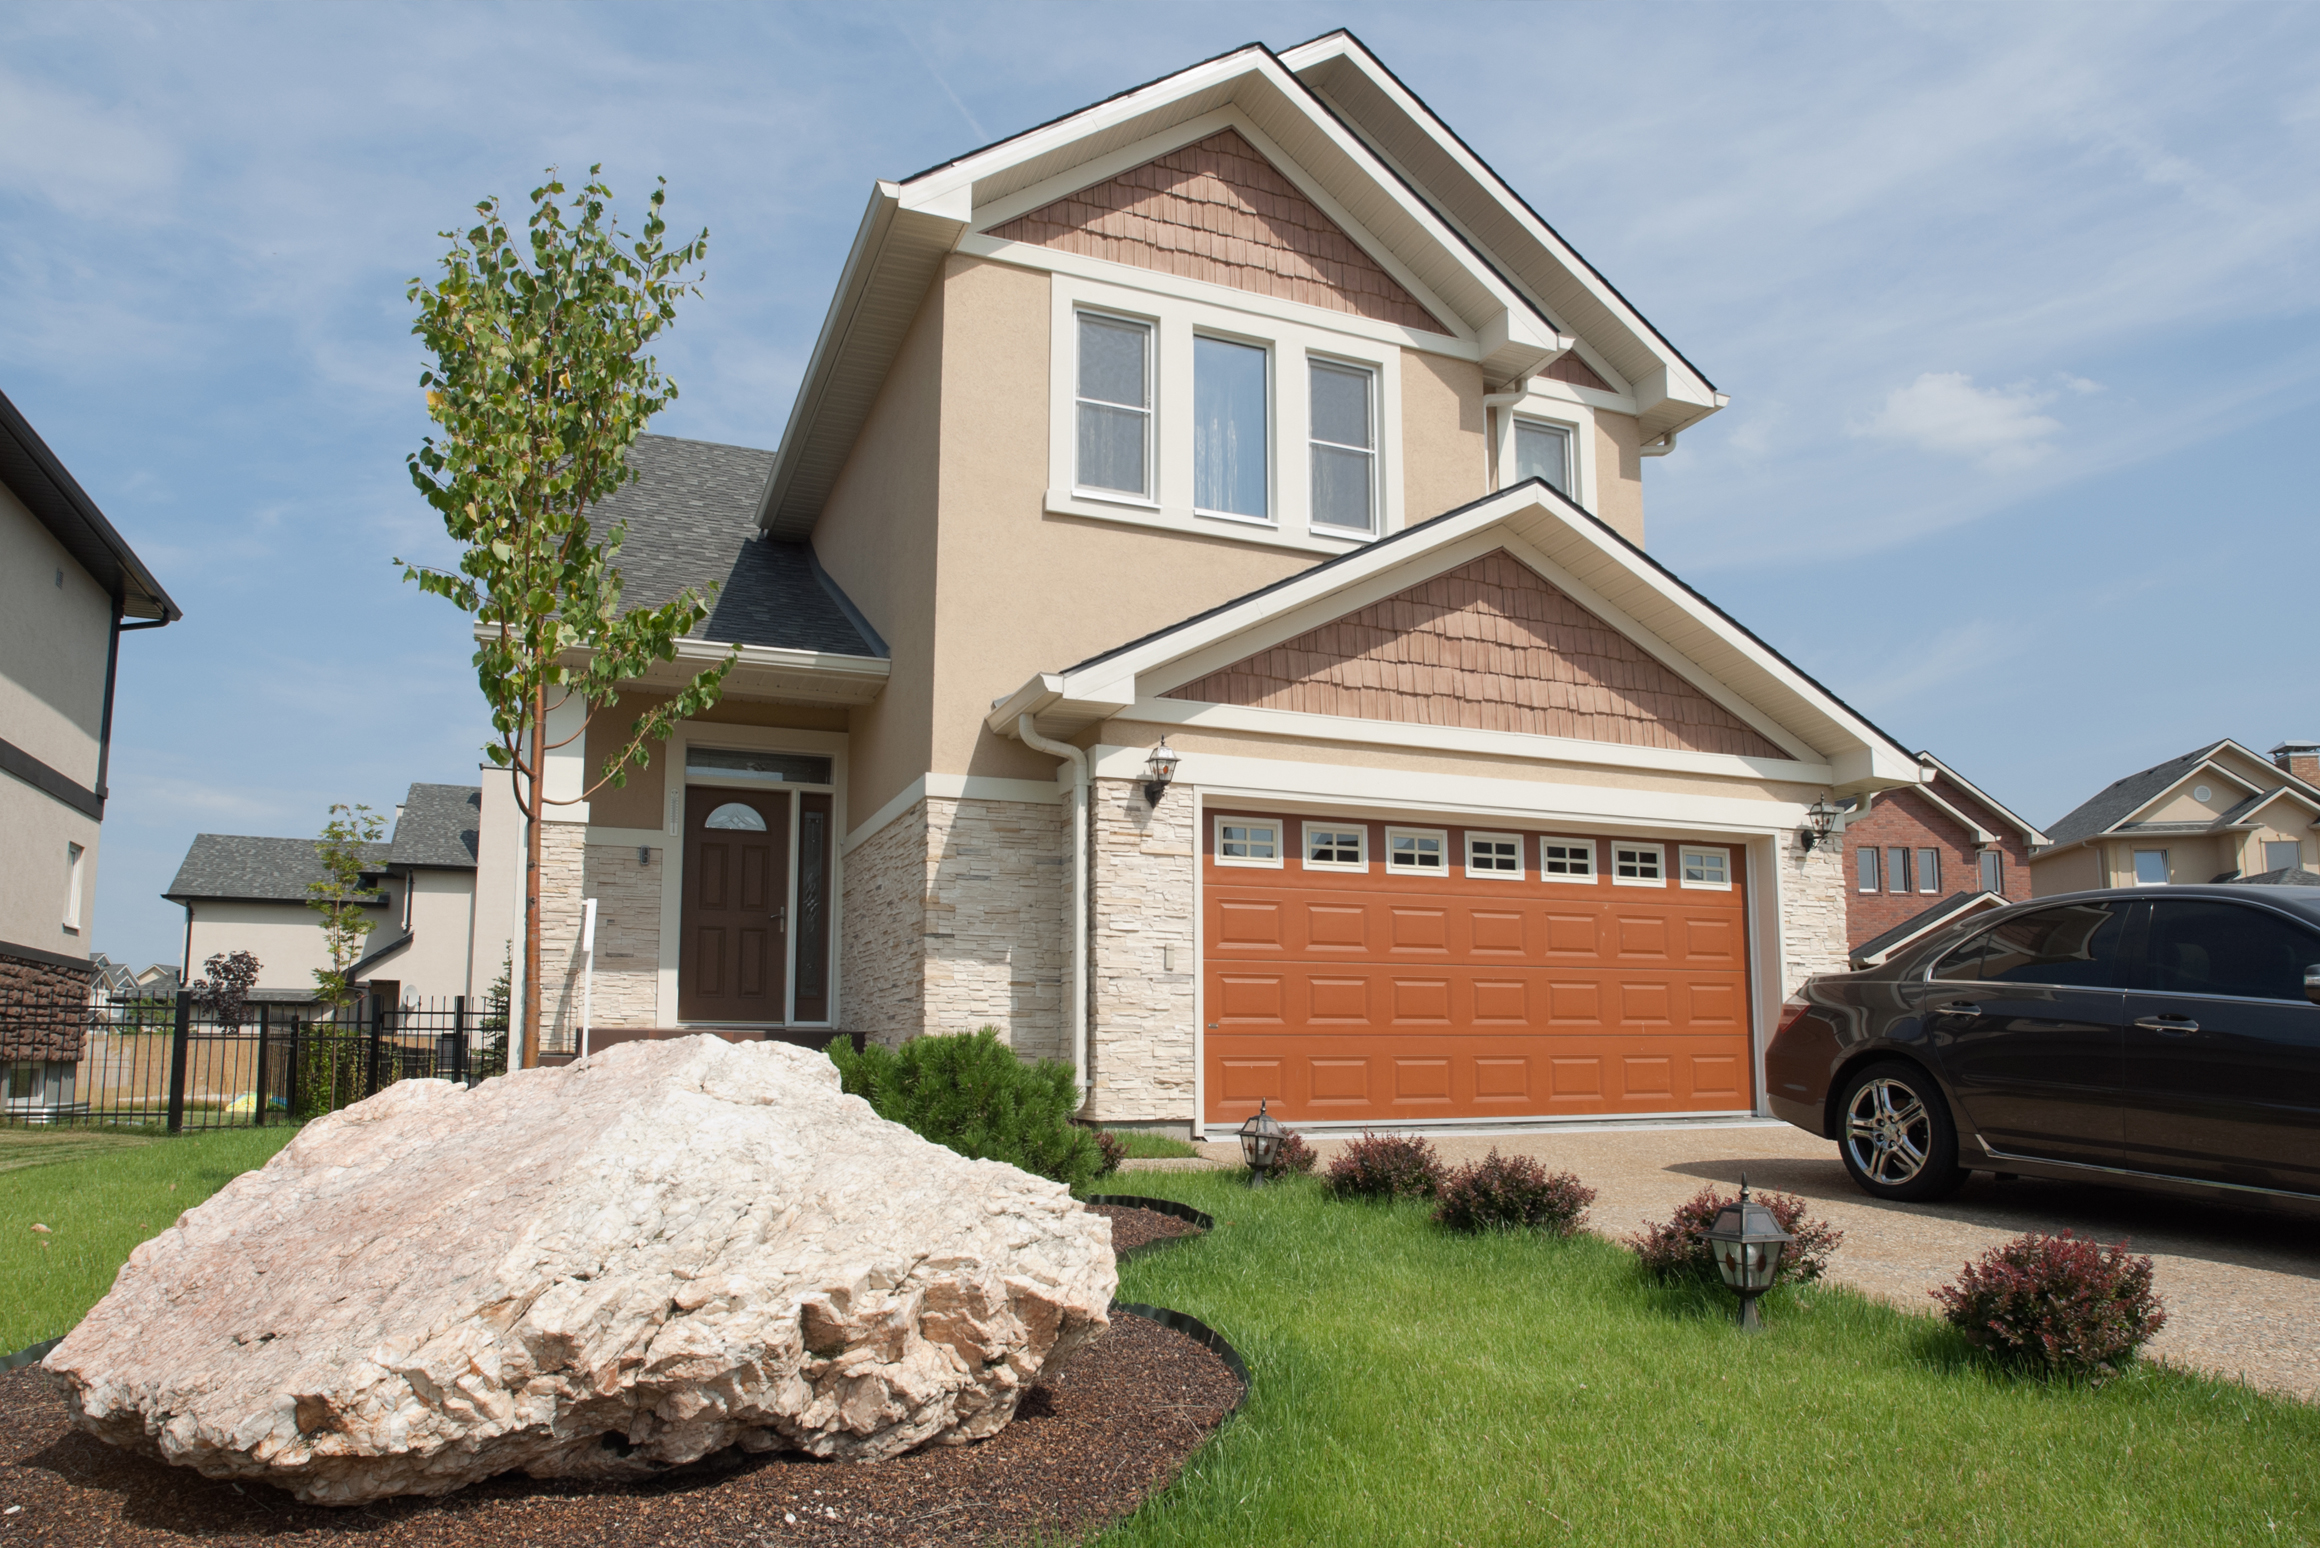
The summer is the perfect time to get outside and spruce up that barren backyard to give some final touches on your new home. A backyard project doesn’t have to be expensive, especially if you’re willing to get your hands a little dirty and test out your ingenuity. Here are nine affordable, DIY ways to decorate your new yard.
Affordable Ways to Spruce Up Your New Backyard
These DIY projects will make your new yard look and feel like an oasis.
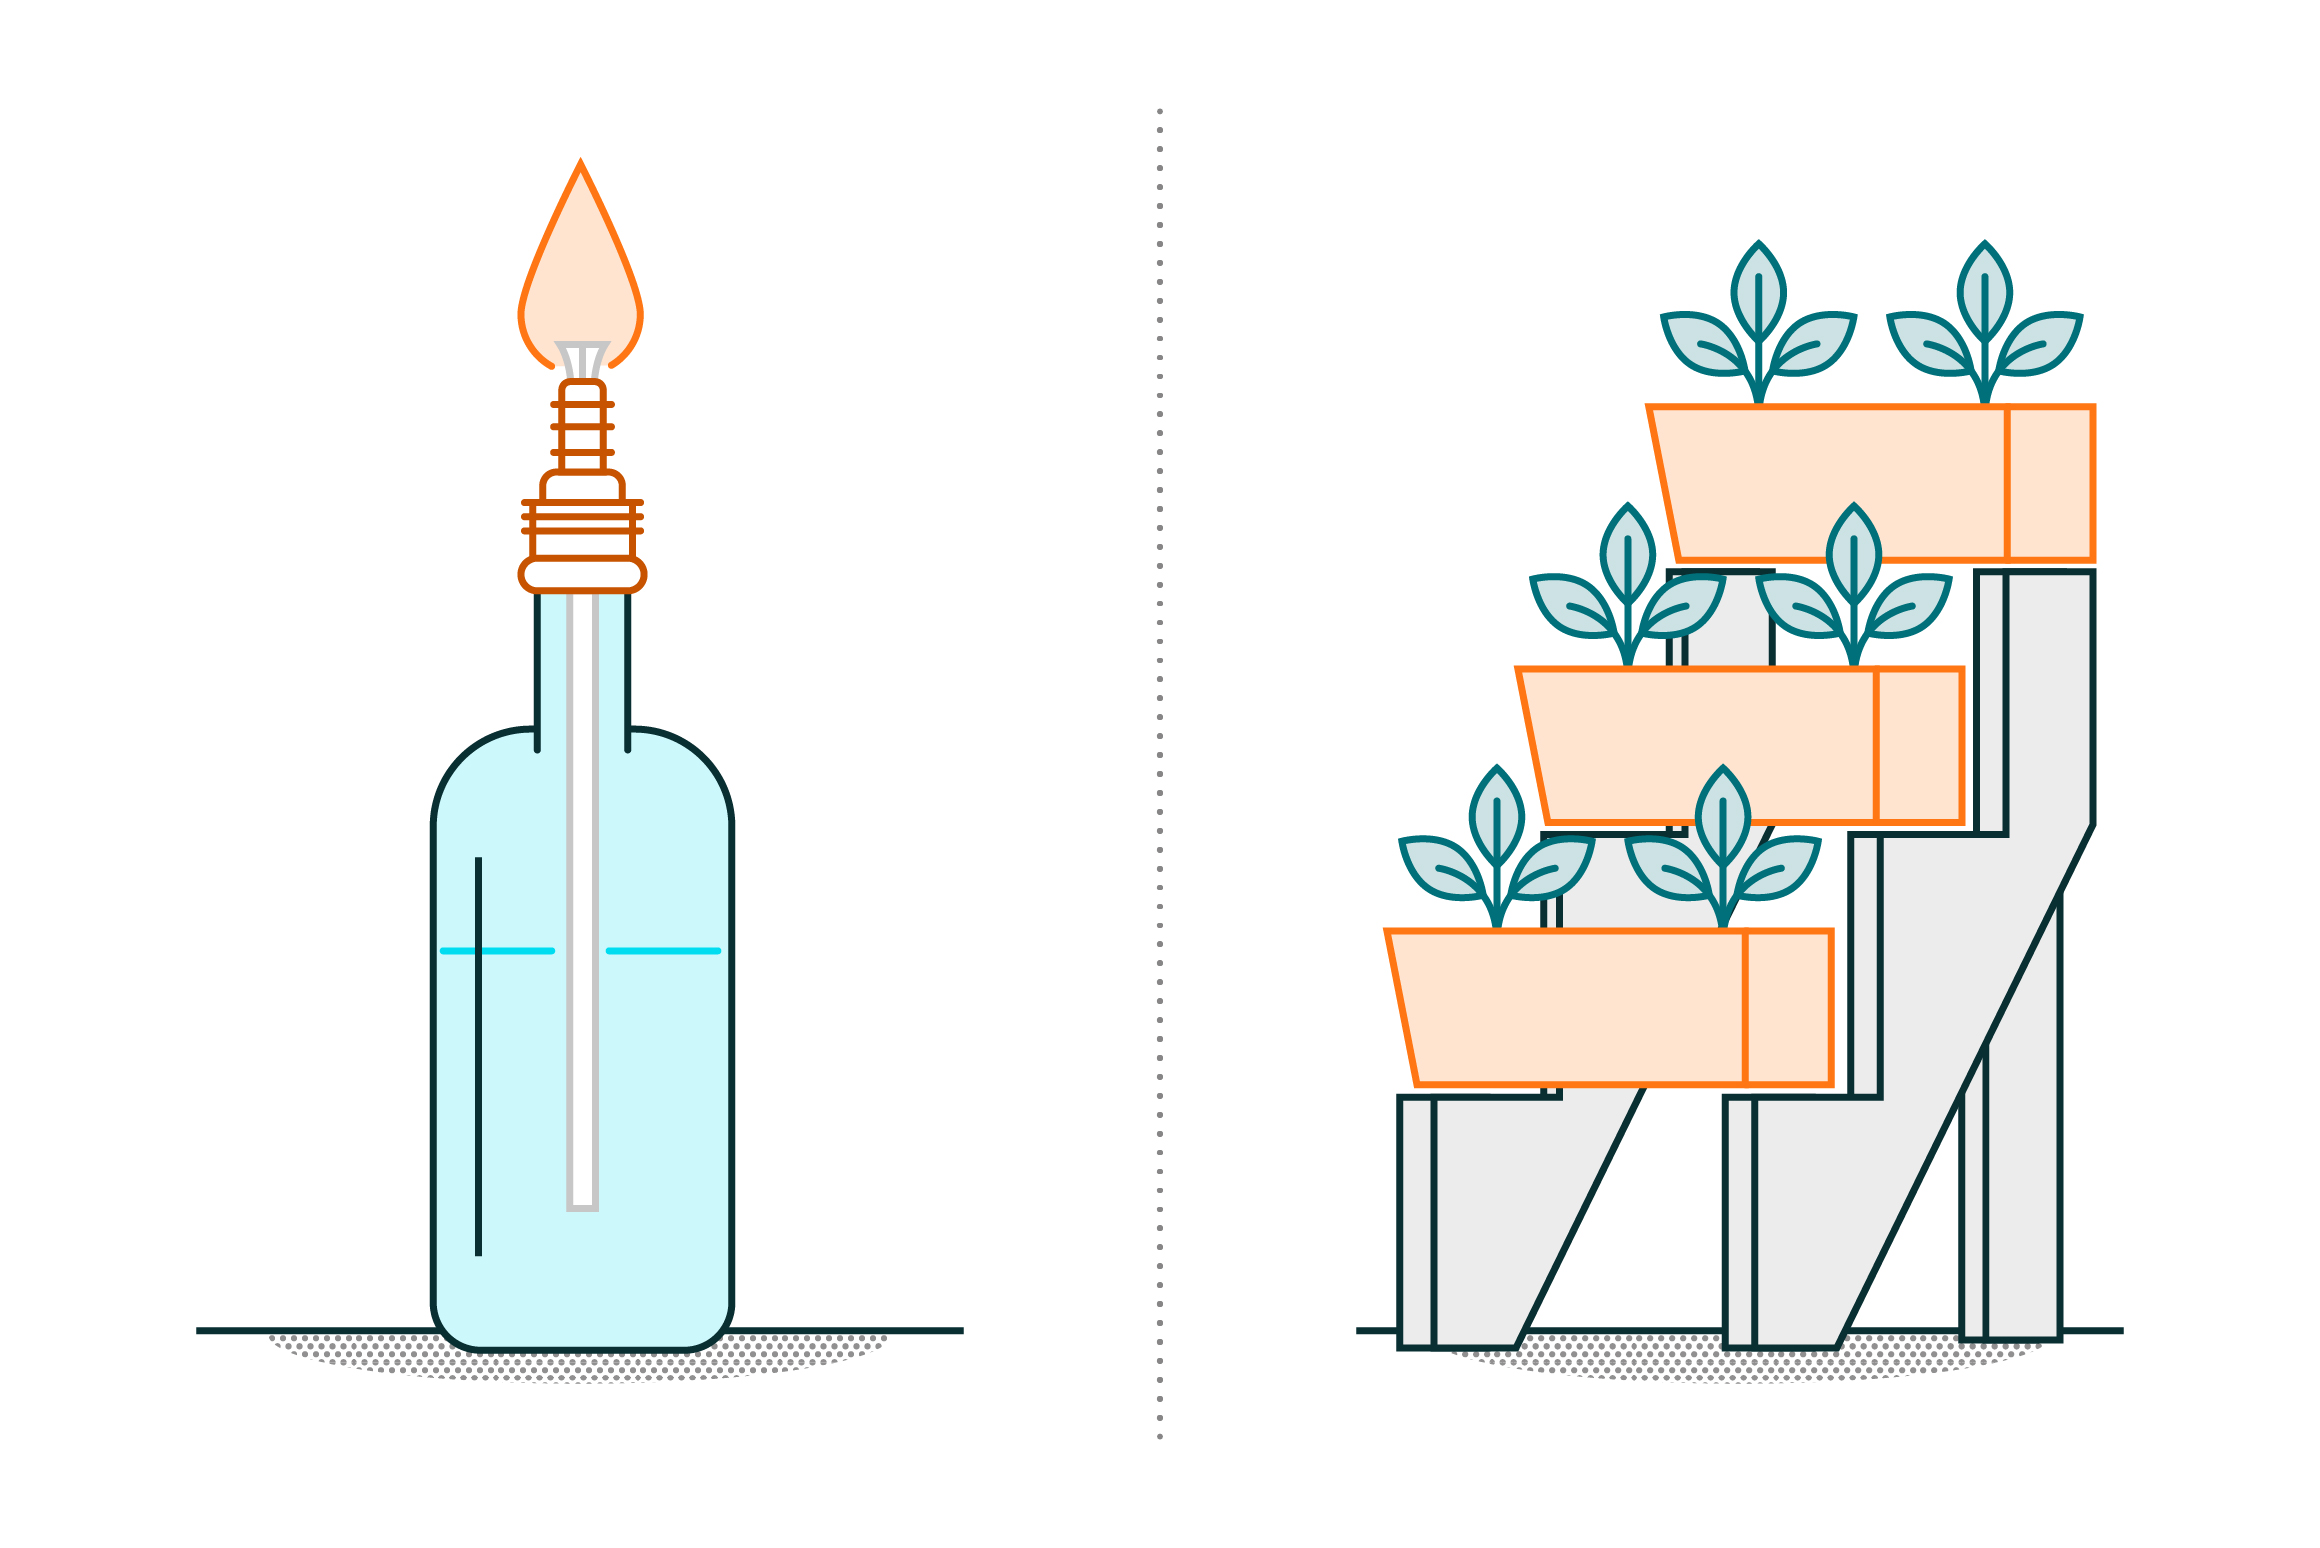
Tiki wine torches
This one’s especially great for the wine lovers out there. You can use your leftover bottles to create your own personal Hawaiian luau full of recycled Tiki torches. The bottles don’t have to be from wine – anything with a 1” neck will do, and the rest of the equipment is typically available at your local hardware store. Aside from being a nice decoration, Tiki torches will also help keep those pesky mosquitos away so you can enjoy your yard without breaking out the calamine lotion.
Vertical garden planter
Do you fancy yourself as someone with a green thumb? A vertical garden planter can help you grow your own herbs while also saving valuable space in your yard. There are plenty of ways to make a vertical garden planter, from lumber to ladders to wire. You can construct a vertical garden however you’d like and add a little flair to your yard.
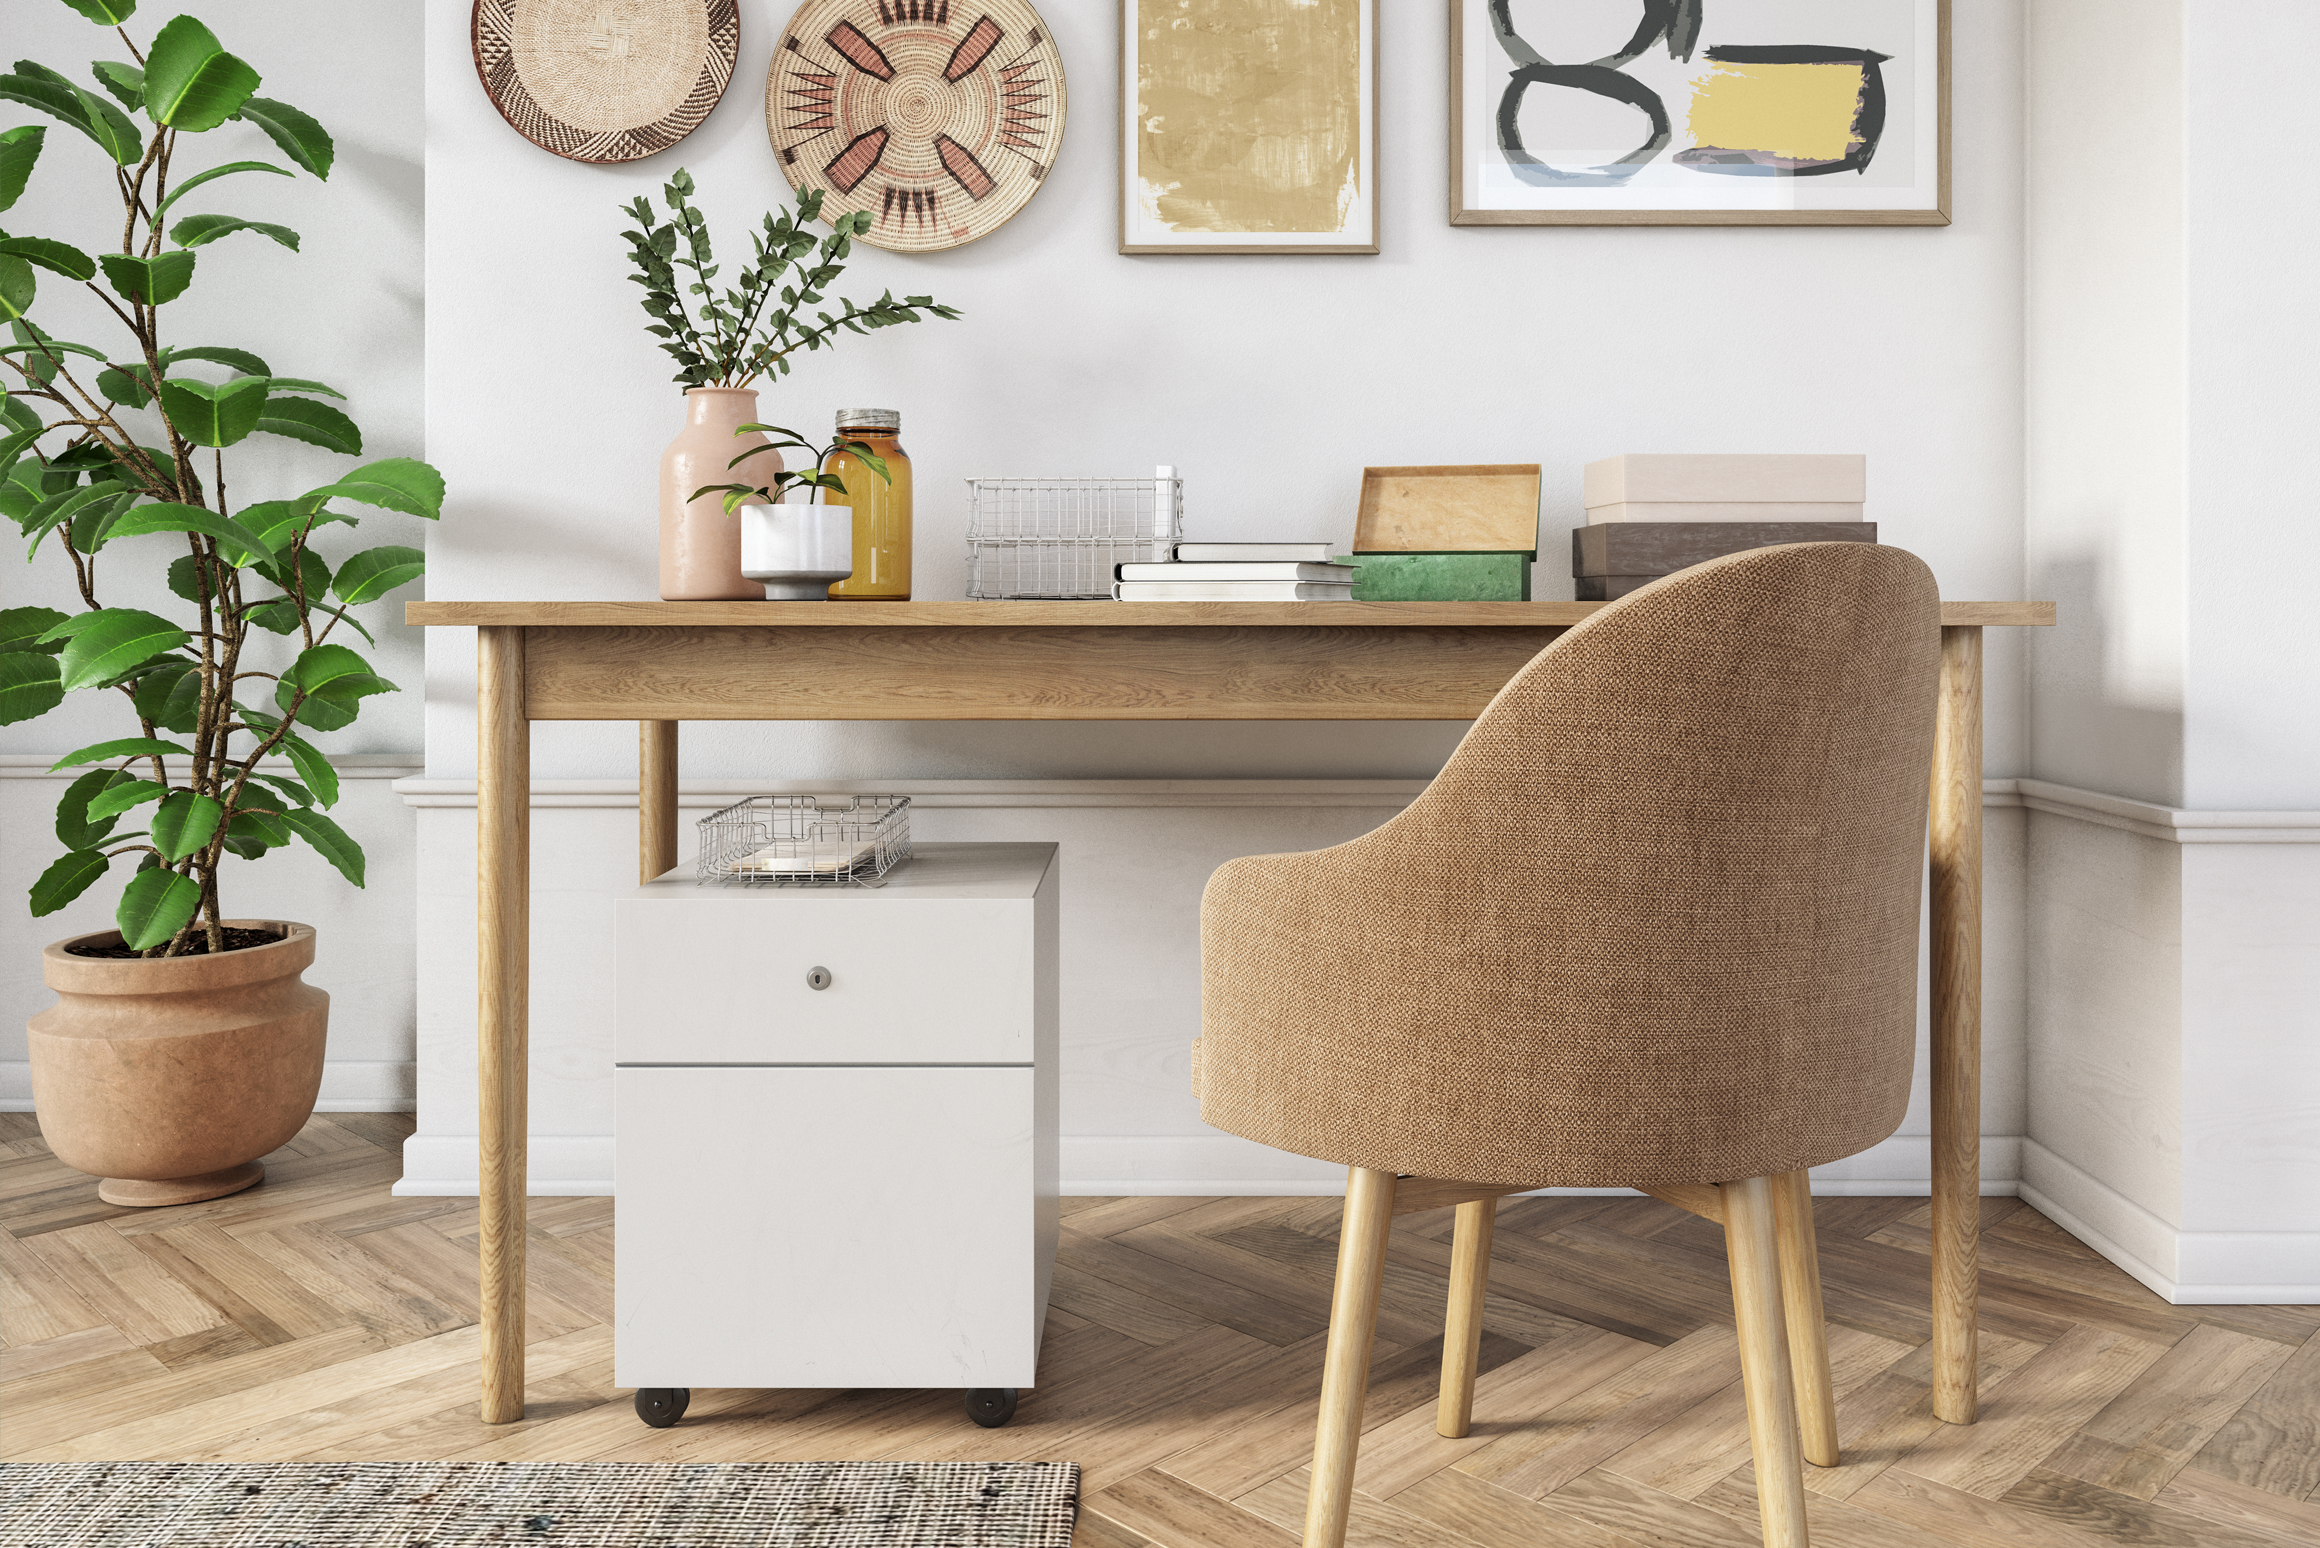
Backyard drink table
If you like to entertain or host cookouts, it’s much easier to have a place to prepare and store drinks outside than in. By using an old desk, side table or sewing table you no longer use, you can create your very own vibrant drink station. With a little elbow grease, you can even add a compartment for ice to keep your martinis cool.
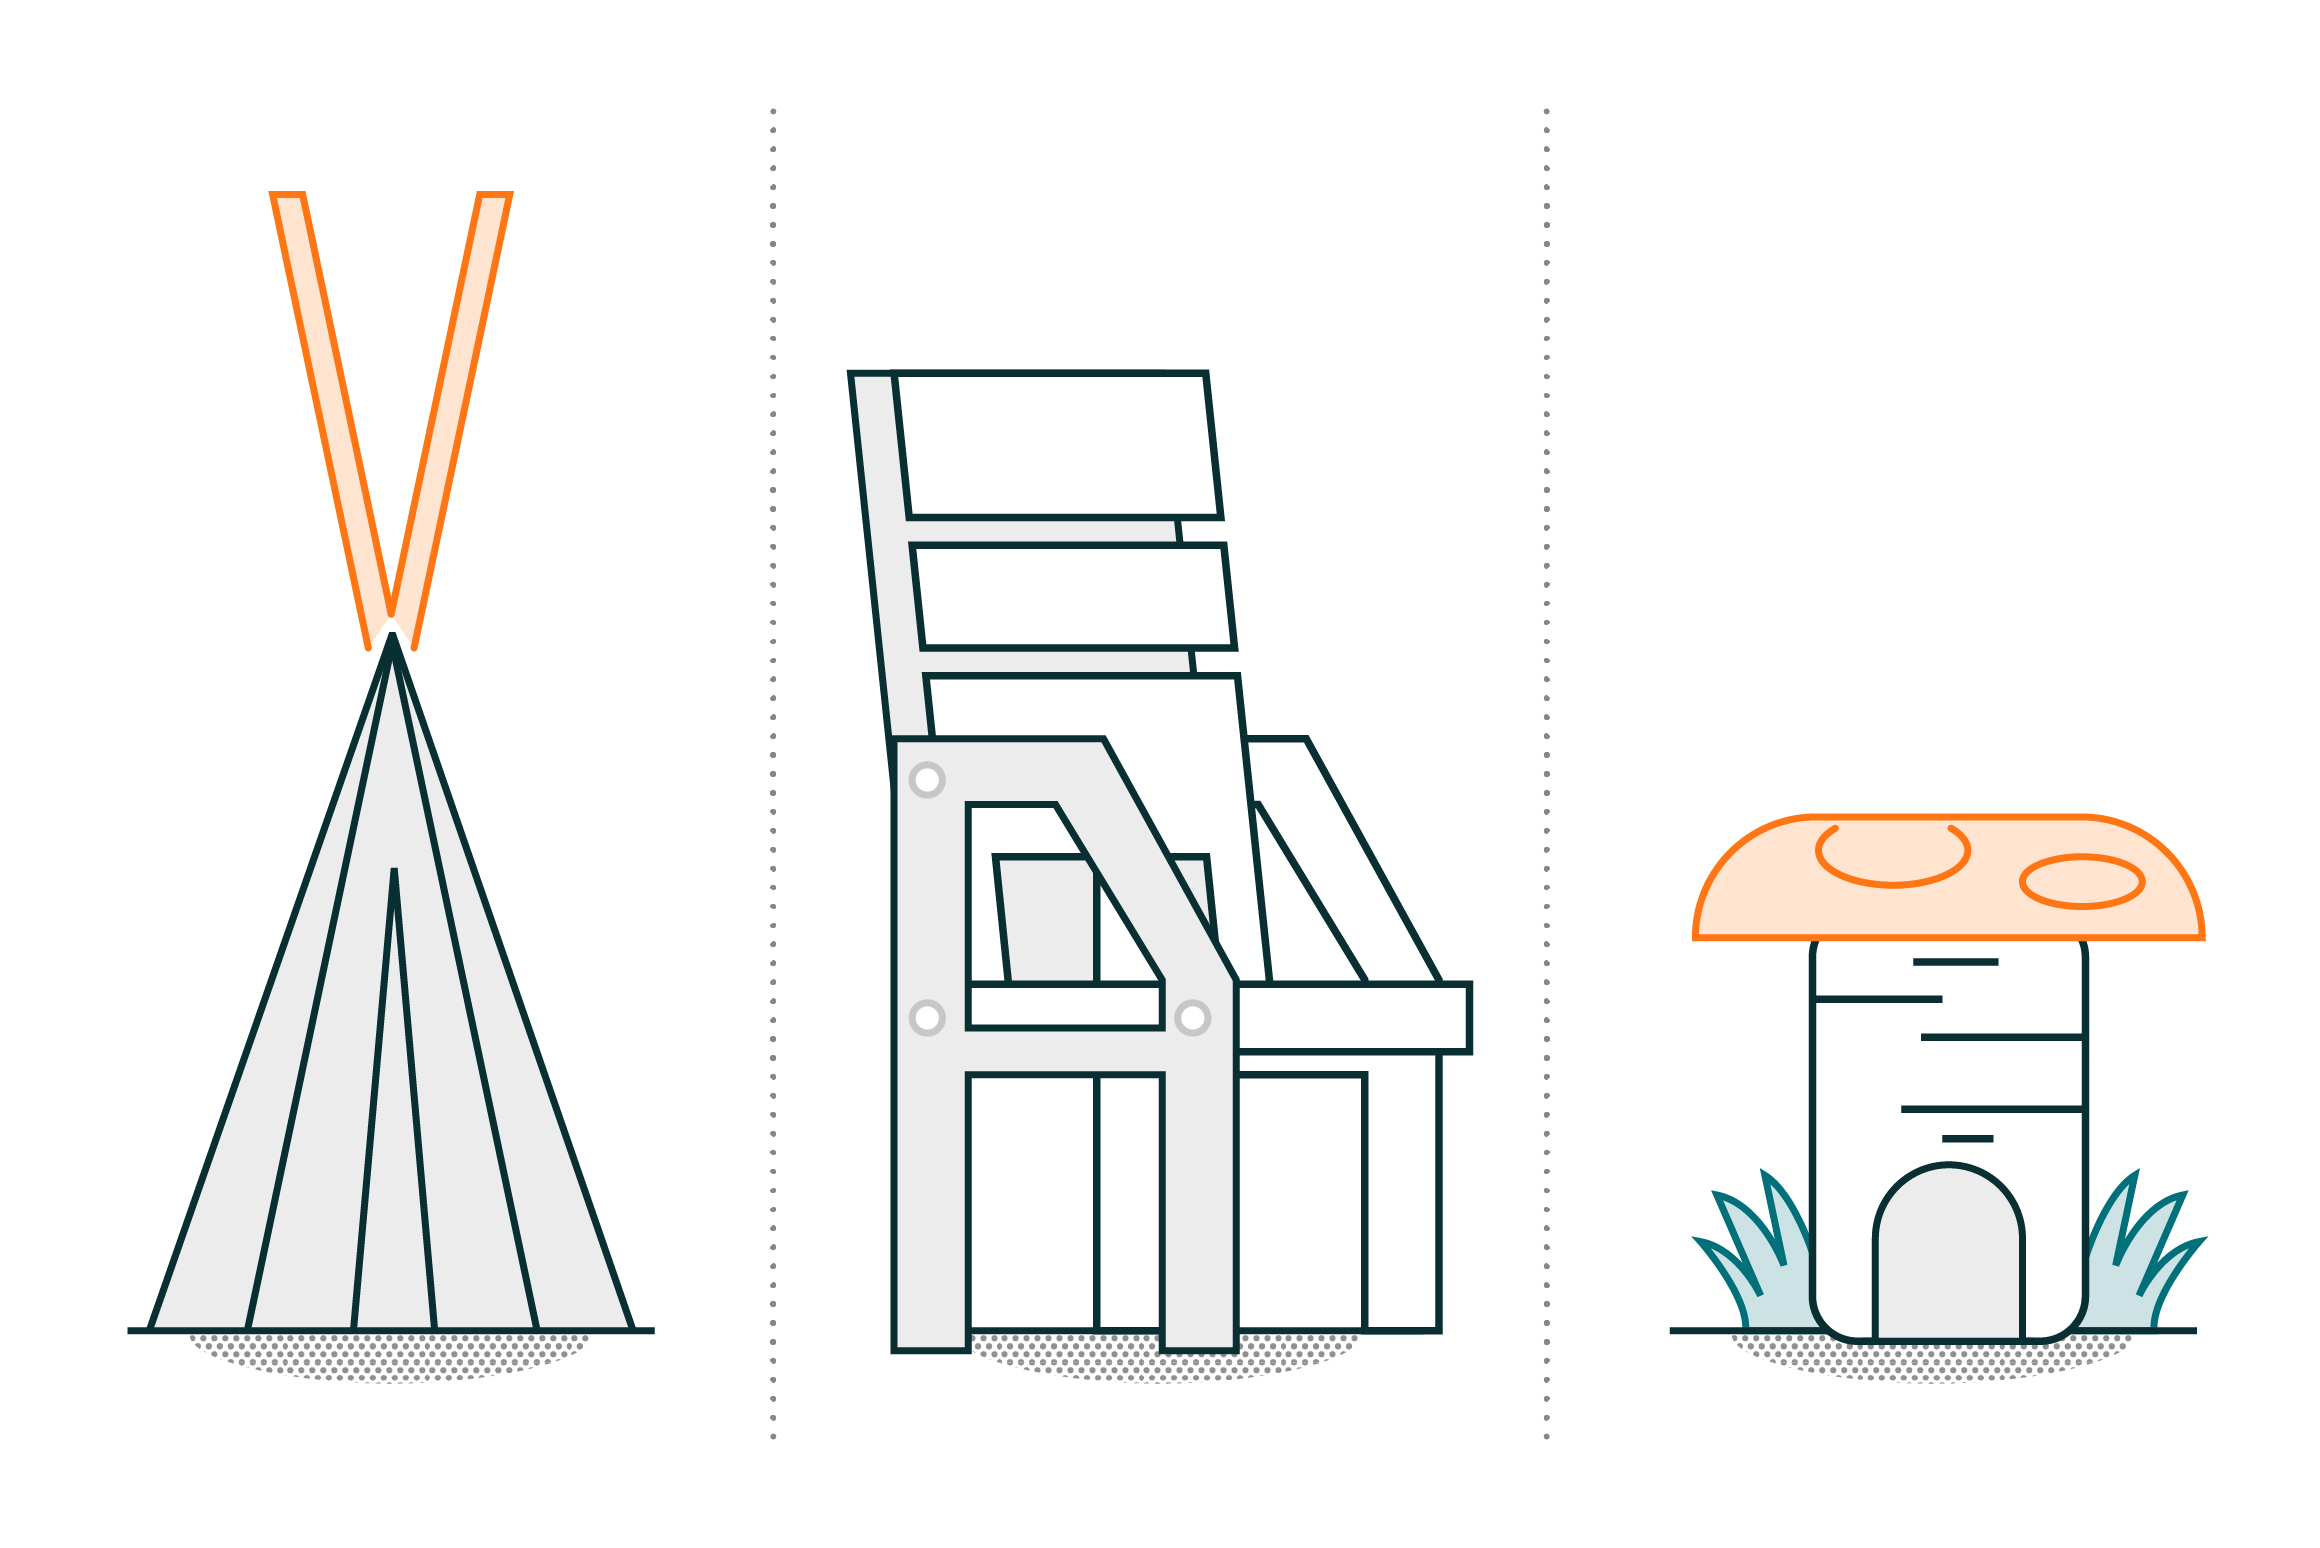
Backyard teepee
This one’s great for the kids! Instead of purchasing a tent for the little ones, build your own backyard teepee. You don’t even have to sew it together. It’s a beautiful, unique addition to any backyard that also provides a place for late night camping adventures and reading sessions with the kids underneath the stars.
Wooden lounge chairs
Are you looking for a little rustic appeal? A DIY lounge chair is a perfect way to bring a woodsy feel to your backyard. You’ll need to be a little handy with some electric tools, or know someone who is, to put this stylish lounger together. It’s really not as hard as it might seem, and in doing so you’ll help eliminate yard waste.
A gnome home
Mythical creatures certainly brighten up any environment, so build a little home to give the illusion of a backyard filled with mischievous little gnomes. This one really only works if you’ve got a tree in your backyard, or at least a stump. Heck, you might even be able to build your own faux stump if you’d like. You can find most of the supplies at your basic craft store to design any kind of gnome home you desire.
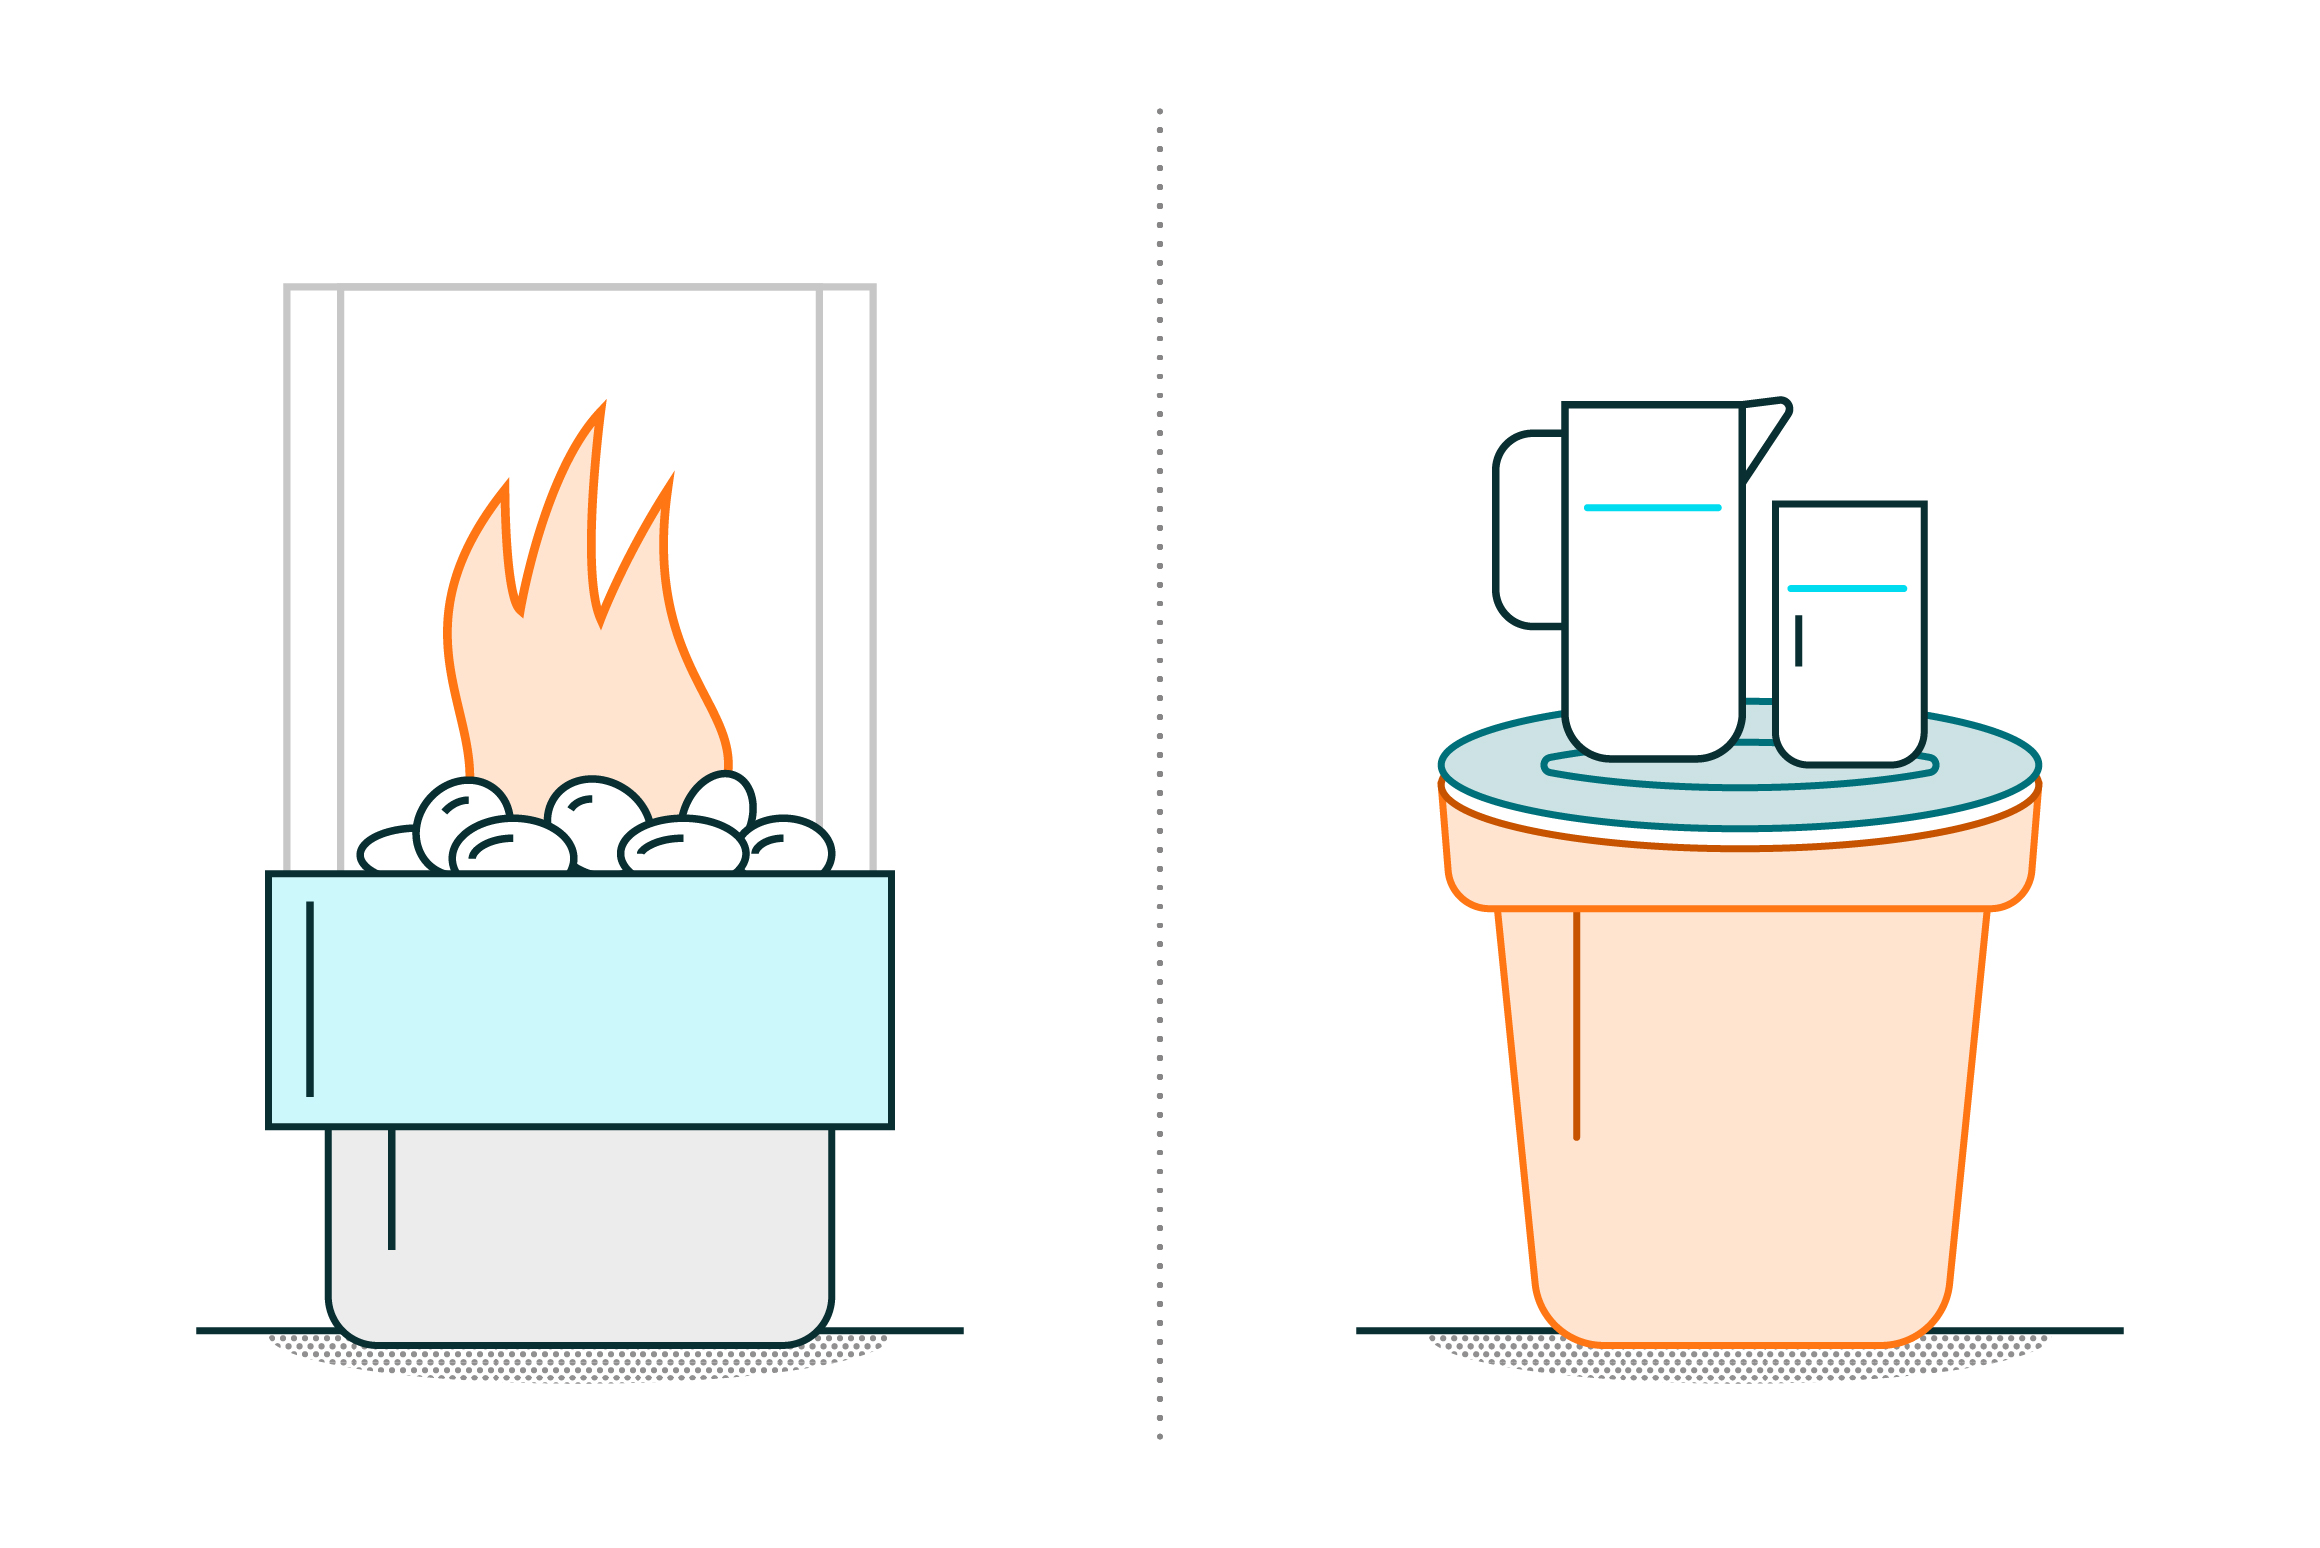
Personal fire pit
Rather than spend time digging out a hole in the ground or stacking heavy stone blocks together to make a fire pit, how about making a portable, personal fire pit instead? With some silicone, pebbles, a metal planter and some glass frames you can put together your own for $25. Just remember to bring it inside during extreme temperature changes to avoid breaking the glass.
Hanging bird bath
You’ll probably attract more birds with a bath that resembles a nest. Simply purchase, or make, a grapevine wreath and wrap it around a terracotta plant saucer, then hang it from a tree. You can even get the kids involved and have them create some bird treats out of seeds and cookie cutters to go along with your bath.
Terracotta pot table
Another ingenious use for terracotta would be to make your own table for extra space to put your drinks. Simply purchase a large pot tall enough to work as a table, a plate to situate on top and feel free to paint it any color you’d like to match your décor. Just be sure the paint you use is suitable for outdoor weather.
There’s really no limit to the amount of ways you can make your new backyard a fun, beautiful place to relax and entertain. Let your imagination run wild and look for ways to utilize old furniture, wood or other recyclables lying around your house after the move and turn them into displays for your yard.
Some other ideas might be to use old tires to create large planters, coloring pebbles in glow-in-the-dark paint to make them light up at night or to create your own greenhouse using old windows. Give these a try and let us know all the other creative ways you find to repurpose your leftover goods for your new backyard space.